


Replacing the hydraulic breaker rubber diaphragm is a highly technical maintenance task. The safe handling of nitrogen, strict cleanliness control during the operation, and standardized disassembly and assembly of critical bolts are the core factors ensuring success and safety.
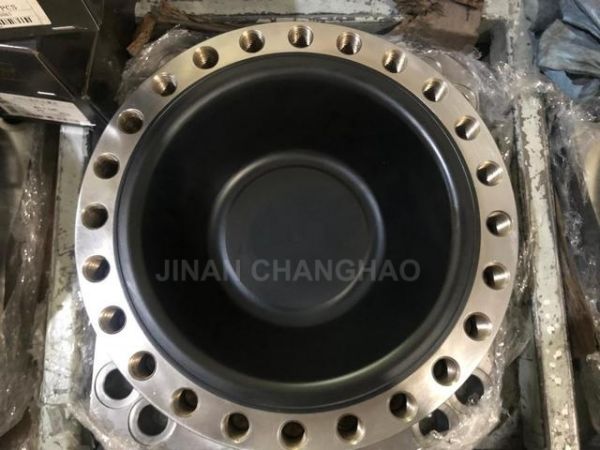
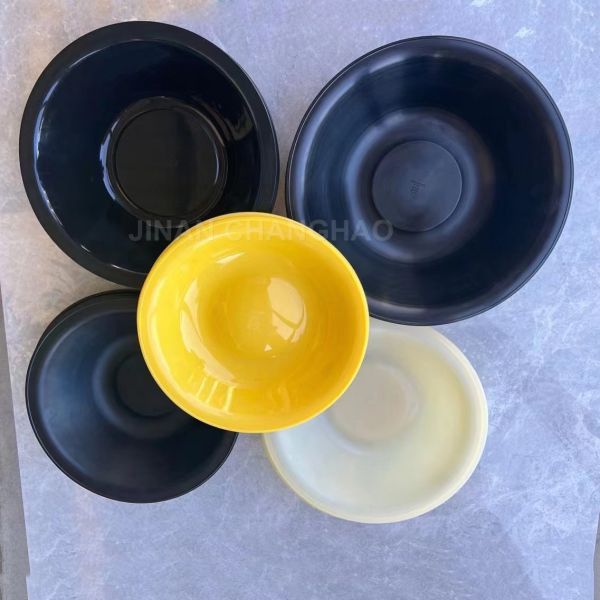
Rubber diaphragm
- Release Nitrogen Pressure Before Replacement
Safety first! Before loosening any bolts, use special tools (three-way valve, nitrogen pressure gauge) to fully and slowly release all nitrogen from the upper cylinder body. The accidental release of high-pressure nitrogen is extremely dangerous.
- Loosen and remove all through bolts gradually in a diagonal sequence, and inspect the bolts for cracks.
- Carefully disassemble the relevant components and take out the old rubber diaphragm. Closely examine the old rubber diaphragm, piston and cylinder barrel for signs of wear and scratches, as this helps diagnose the root cause of the fault.
- Thoroughly clean all mating surfaces (including the piston, cylinder barrel and seal grooves) with a lint-free cloth and dedicated cleaning agent, ensuring no oil stains, metal shavings or impurities remain.
- When installing the new rubber diaphragm, never use sharp tools such as screwdrivers for prying. Manually fit the rubber diaphragmcorrectly into the cleaned accumulator. If necessary, use hydraulic oil or special lubricating grease to assist installation, preventing the seal from rolling over or getting cut.
Reassembly and Tightening
Tighten all through bolts in a diagonal sequence, doing so in multiple steps and gradually increasing the torque. Always use a torque wrench and tighten the bolts to the torque value specified by the manufacturer. This is the key to preventing oil leakage and bolt fracture.
Fill the system with pure nitrogen to a typical pressure range of 1.4–1.6 MPa. Connect the hydraulic pipelines, then test the breaker through the full cylinder stroke and at different operating speeds to check for external leaks and abnormal movements.

Additional Tips for Enhanced Maintenance Effectiveness and Safety
- Cleanliness Equals Service Life: Any tiny impurities entering the sealing surfaces during installation can cause rapid wear and leakage of the new rubber diaphragm. It is recommended to perform the operation in a clean, dust-free environment.
- Inspect Associated Components: When replacing the rubber diaphragm, it is advisable to inspect and replace other seals on the piston (e.g., O-rings, guide rings) at the same time. If the cylinder barrel or piston has severe scratches, replacing only the rubber diaphragmwill not solve the problem completely.
Safety Regulations
Wear safety goggles and gloves during operation.
Ensure the equipment (excavator) is completely shut down and the hydraulic system is fully depressurized.
If you are unfamiliar with the procedure or lack the special tools, it is strongly recommended to entrust the task to professional maintenance personnel to ensure safety and maintenance quality.
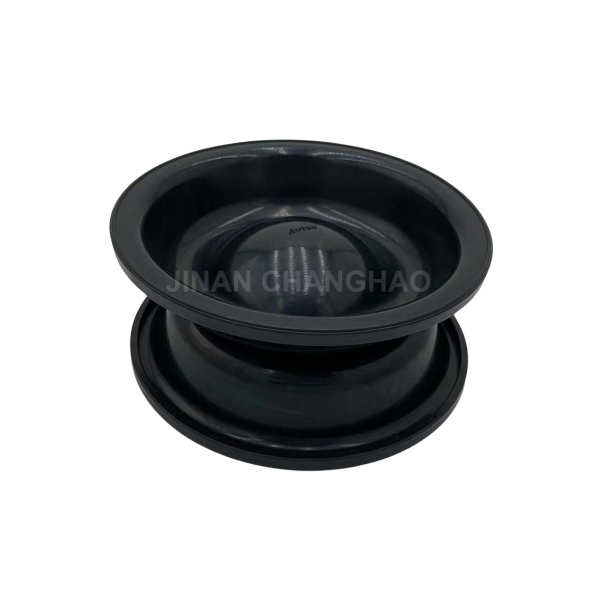
Rubber diaphragm
Common Causes of Rubber Diaphragm Damage
Understanding the root causes helps prevent recurrence of the problem:
- Hydraulic Oil Contamination: Impurities such as metal abrasive particles mixed in the hydraulic oil are the primary cause of scratches to seals and cylinder walls.
- Abnormal Nitrogen Pressure: Excessively high or low nitrogen pressure (outside the specified range) forces the rubber diaphragm to operate under abnormal conditions, accelerating fatigue and damage.
- Excessively High Oil Temperature: Prolonged operation at abnormally high temperatures causes the rubber material to harden and lose elasticity, leading to seal failure.
- Equipment Body Defects: If the inner wall of the cylinder barrel or the piston rod is already scratched or worn, the new rubber diaphragm will still fail quickly after installation.
Daily Maintenance Recommendations for Hydraulic Breaker Rubber Diaphragm
Standardized daily maintenance can significantly extend the service life of both rubber diaphragm and the hydraulic breaker.
- Maintain Clean Hydraulic Oil: Replace hydraulic oil and filters strictly according to the maintenance schedule.
- Regularly Check Nitrogen Pressure: Inspect the nitrogen pressure before each operation or at regular intervals to keep it within the specified range.
- Proper Lubrication: Grease the chiselat the frequency and quantity specified by the manufacturer. Ensure the hydraulic breaker is in an upright position and the chisel is pressed firmly against a surface during greasing to prevent grease from entering the hydraulic system.
- Avoid Dry Firing: During operation, the chiselmust be pressed against the material being broken. Never perform dry firing when the chisel is suspended, as this will cause severe impact to internal components (including the rubber diaphragm).