


The through bolt is the unsung hero of your hydraulic hammer. This critical component acts as the backbone, clamping the entire hammer assembly—front head, cylinder, and back head—together under immense tension. It constantly battles extreme impact forces and vibrations.
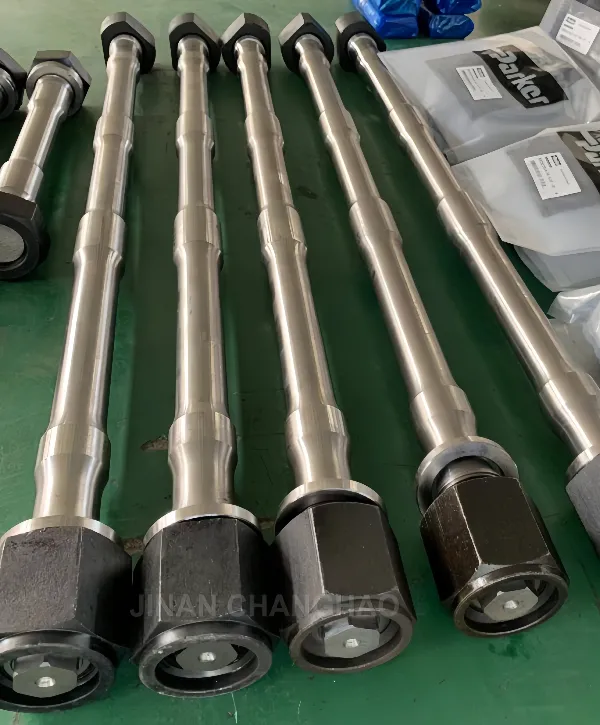
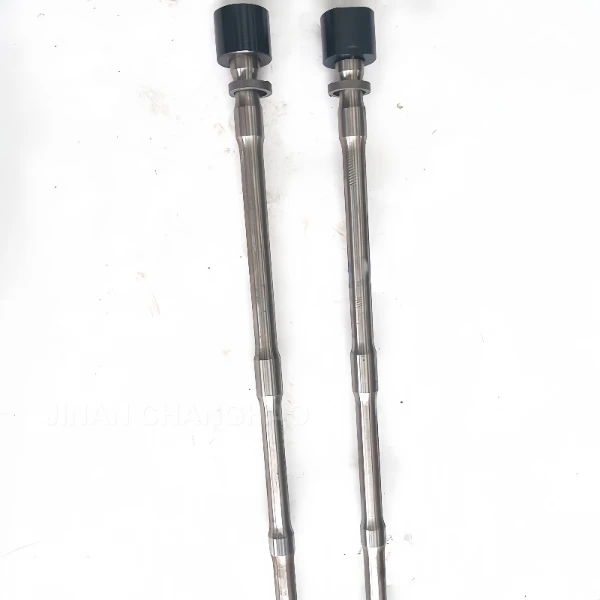
SB81 hydraulic breaker through bolt
A failed through bolt doesn’t just stop your work; it can lead to catastrophic and expensive damage to the core structure of your breaker. Learning to identify the early signs of wear can save you thousands in repairs and prevent prolonged downtime.
Warning: Always depressurize the hydraulic system and follow lockout-tagout procedures before inspecting or servicing your hydraulic hammer. Never inspect a through bolt under tension.
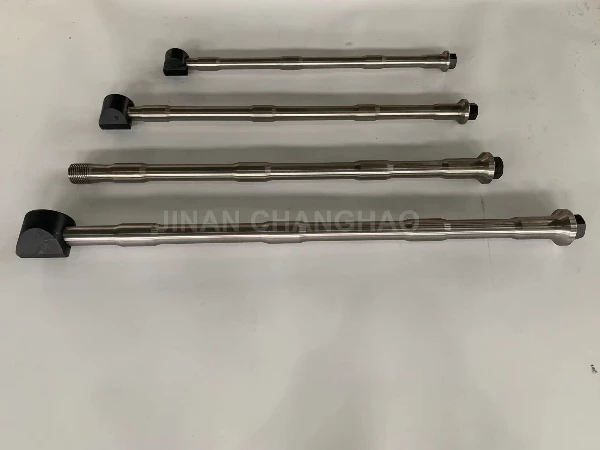
HB15G HB20G HB30G HB40G hydraulic hammer through bolt
Visual Indicators of a Worn Through Bolt
Regular visual inspections are your first line of defense.
Stretching (Necking): This is the most common and critical sign. Carefully examine the shank of the bolt. A visibly thinner section, especially near the threads or the center, indicates the bolt has yielded and permanently stretched. A healthy bolt has a consistent diameter along its shank.
Action: Immediate replacement is required.
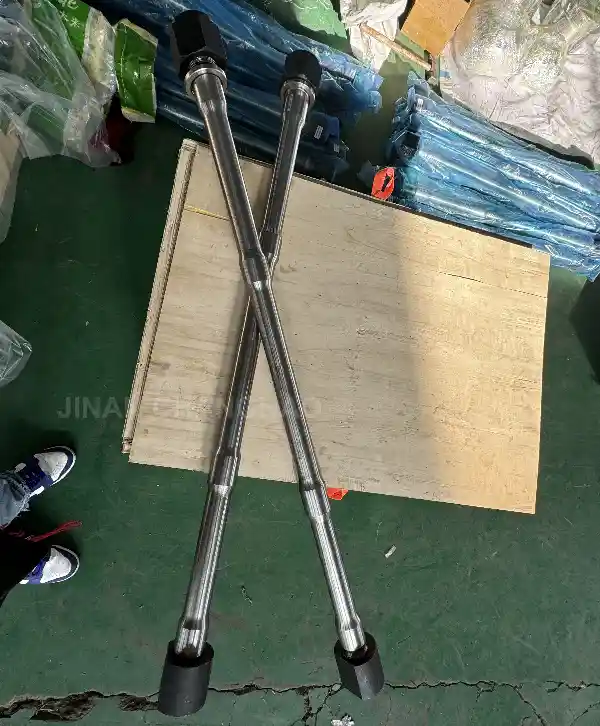
KB4200 rock breaker through bolt
Thread Damage:
Deformed or Flattened Threads: The threads on the bolt or inside the nut may appear crushed, worn down, or “mushroomed.” This is caused by the intense micro-movements and vibration.
Stripped Threads: Sections of the thread may be completely missing, preventing the nut from tightening properly.
Action: The bolt and nut should always be replaced as a set.
Cracks or Fractures: Look closely, especially at the transition areas between the shank and the threads, and under the bolt head. Use a magnifying glass if necessary. Even a hairline crack is a sign of imminent failure.
Action: Replace the bolt immediately. Do not continue operation.
Corrosion and Pitting: While surface rust might be cosmetic, deep pitting creates stress concentration points that can become the origin of a crack. If the corrosion is severe enough to eat into the material, the bolt’s structural integrity is compromised.
Action: Assess the depth of the pitting. If you can catch a fingernail on it, replacement is recommended.
SB43 hydraulic breaker through bolt
Functional & Performance Indicators
Often, the symptoms of a worn through bolt manifest in the hammer’s operation.
Hydraulic Oil Leak from the Midsection: If you see oil seeping from between the front head and the cylinder, it is a major red flag. This often means the through bolt has stretched or loosened, breaking the seal between the housings.
Action: Stop using the hammer immediately. Investigate the source of the leak and check all through bolts.
Unusual Noises or Vibration: A noticeable increase in vibration or a change in the sound of the hammer’s impact (e.g., a deeper, “hollower” thud or metallic rattling) can indicate that the internal components are misaligned due to a loose or stretched bolt.
Action: Stop and inspect.

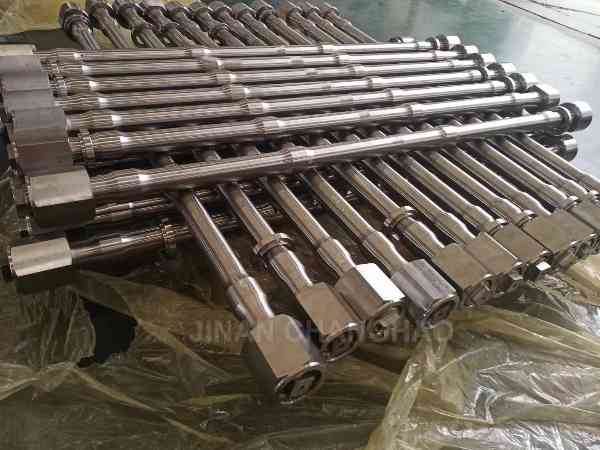
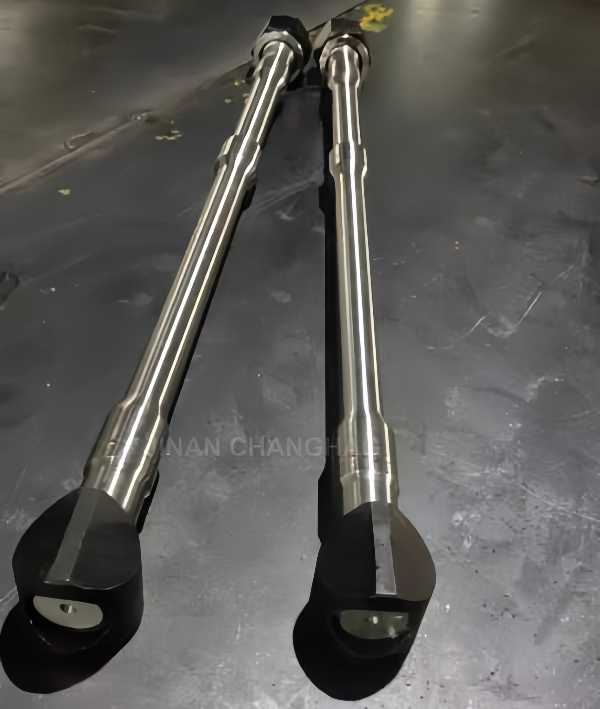
Excavator Breaker Through Bolt with Hex Bolt-
Reduced Breaking Power: If the hammer seems less effective, it could be because the energy from the piston is not being efficiently transferred to the tool. A loose assembly absorbs and dissipates this energy.
Action: Check the through bolt tension along with other wear parts like the tool bushings.
Visible Misalignment of Housing Parts: With the hammer off and depressurized, check if the front head and main housing are perfectly aligned. Any visible gap or step between them is a clear sign of a critical issue with the through bolts.
Action: Do not operate. Immediate disassembly and inspection are required.
MKB1400 excavator breaker through bolt
The Correct Way to Measure and Confirm Wear
For a definitive check, you need to measure.
Diameter Check: Use a micrometer (not a caliper) to measure the diameter of the bolt’s shank at several points, especially in the center. Compare these measurements to the diameter of the unthreaded ends (which are typically unworn). Any reduction in diameter is a clear sign of stretching.
Length Check: Measure the overall length of the bolt and compare it to the specification for a new one. A stretched bolt will be longer.
Thread Gauge Check: Use a thread pitch gauge to verify the nut threads onto the bolt smoothly and without play throughout its entire length.
Hydraulic Breaker Hammer Through Bolt with Hex Bolt
Proactive Maintenance is Key
Follow Torque Specifications: The single most important practice is to re-tighten the through bolts to the manufacturer’s specified torque value during routine maintenance. Use a calibrated torque wrench.
Replace in Sets: Always replace all through bolts and their corresponding nuts as a complete set. Mixing old and new bolts creates uneven tension.
Use High-Quality Replacements: Never compromise on through bolt quality. Inferior bolts can fail prematurely, leading to far more costly damage. Invest in parts made from high-tensile, heat-treated alloy steel.